All Mahogany Parlour Guitar — Swannell Guitars - Handmade in Cambridge
Handcrafted Guitars from Cambridge, UK
DSCF1923.JPG

All Mahogany Parlour Guitar

The All Mahogany Parlour Guitar


I LOVE PARLOUR GUITARS.

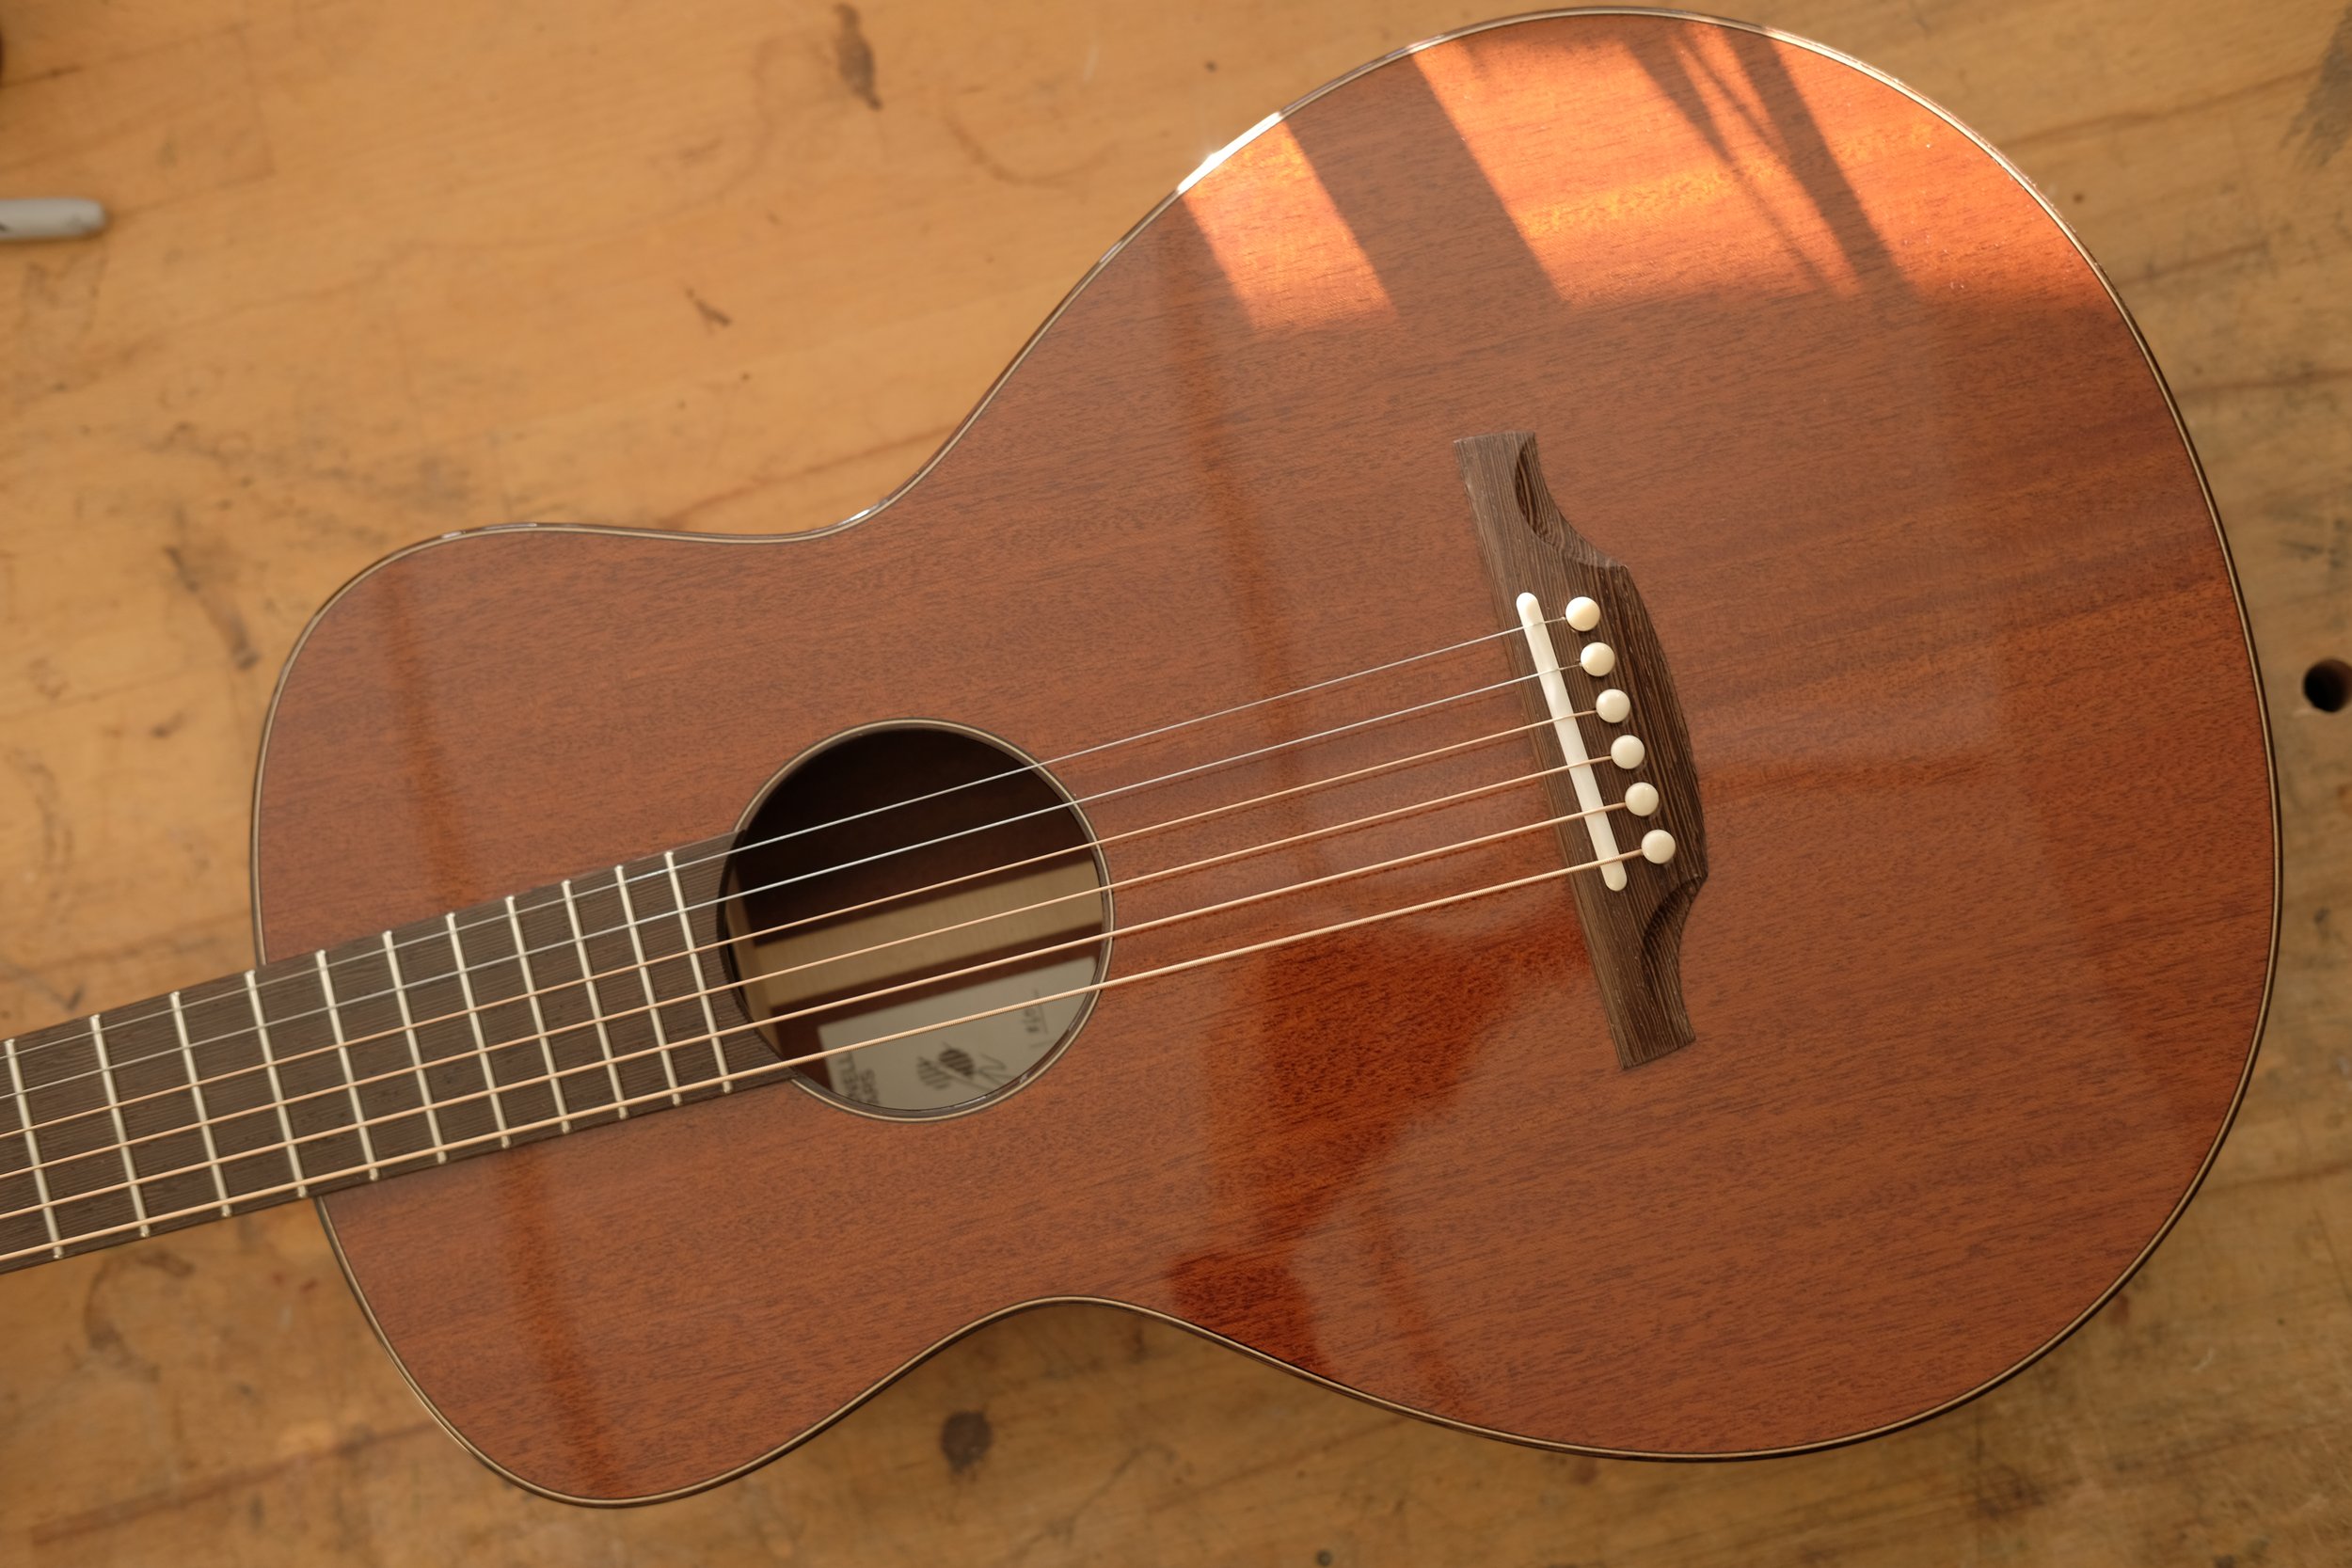
I recently finished this guitar. Its a rather special one, and I’m particularly pleased with it. For me, perhaps because I’m not the tallest of individuals, parlour guitars have always held a special place in my heart. Some of the nicest sounding guitars that I’ve ever had the pleasure and privilege to play have been concocted from this magical combination of short scale lengths, small bodies and 12th fret to the body joined necks. This is not the first Parlour that I have made, but it is the first with structured sides and a bolt-on/bolt-off neck. It’s also the first all-mahogany build that I’ve undertaken. I’ve put together a “build thread” below to give you a little insight into how this guitar came into life.

I took a few moments on a quiet day in the workshop to record this little demo. It’s a mash up of something I’ve been noodling with for years and a lovely Pat Metheny tune called “Solo from More Travels”.

I will be bringing this guitar to String Break in Harrogate on the 22nd March 2025 whereupon it will be available for sale. Full details about the model and further photos of the completed insturment can be found here.

Please get in touch below if you are interested in buying this guitar, have any questions, or are thinking to commission your own Swannell guitar.

 

The Build Thread

It started out from humble beginnings. An unwanted piece of brown furniture, given to me via a friend in Cambridge (thank you @woodworkforwellbeing!). I'm confident that this was a Swietenia of sorts (thanks to the tell tale "marginal parenchyma" - check out the Wood Database online for further details on how to identify "mahogany" and the challenges therein). In any case, it's all beautifully quarter-sawn and ideal for this purpose. Lucky me.

Yielding only just enough for one Parlour sized guitar, thanks mostly in part to the generous rebates for the shelving construction, the inevitable screw or nail holes and a few unfortunate cracks. The pieces of wood were enormous and it felt criminal to waste as much as I had to, but still, seeing as this was already this timber's second life, I suppose I forgave myself.

Here you can see me using a modestly proportioned bandsaw to get the job of resawing the book matched pieces done. I took my time and successfully ended up with the soundboard, back and internal and external ribs ready to join, thickness and bend.

Hopefully these rough and ready photographs can give you a little insight into how I go about building my guitars.

The soundboard and back are jointed on my shooting board with my trusty No.5 laying on its side. For the keen eyed luthiers and woodworkers out there, you'll notice that my shooting board has an adjustable fence to help keep the boards in alignment and resist the pressure applied by the plane. This was pretty much the first jig I ever made nearly 15 years ago.

Lately, I've favoured the classic Spanish method for clamping the plates together. It's elegant and works nicely!

The next shots show some resawn Western Red Cedar (thank you @millworkstimber). Once kerfed on the table saw they provide a flexible, lightweight core to the structured sides/ribs that I employ.

My trusty Ibex bending iron has bent the ribs on all but one guitar in my history. It's not perfect, but it gets the job done. I was apprehensive bending this mahogany, as it can be a temperamental timber to bend. But thankfully we progressed unscathed.

I skipped a few steps here, the ribs are now laminated to their Western Red Cedar cores and in the process of receiving the neck and butt blocks.

I profile the super stiff rib structure ex-situ of the mold and using a combination of careful marking, saw, plane, spherically radiussed sanding dish and patience.

The next stage is all about the soundhole. Having once had a penchant for making life more difficult for myself with complicated rosette designs, I've become somewhat known for employing the "nosette" design. Simple sound hole binding that matches the perimeter binding scheme. It's a classy, timeless and modern/minimalist aesthetic that I really like. That said, although it's visually simple, it takes a few steps to execute properly.

Gluing the big ol' soundhole patch. I borrowed this idea from @dionguitars. The patch reinforces the delicate timber around the soundhole and dictates the angle and position of the X brace. Clever. Thanks Dion.

The soundhole cut out using my soundhole cutter. This tool is one of many on the compulsory list of tools that all students at @newarkguitarschool build in the engineering workshop. A beautiful bit of kit that continues to do the job quickly, cleanly and quietly. There’s a real sense of achievement using tools that you’ve made yourself.

The binding material, in this case a strip of 6mmx2mm Wenge is bent on the iron and the joint is scarfed (rather than butted) to give a longer gluing surface that disguises itself nicely.

Blue tape clamps it all in place while the glue pitches off.

A tiny plane in the sunshine hogs off the bulk of the excess before I turn to the card scraper.

The all important X brace and how I go about it:

Whilst myself and the entire acoustic steel string guitar making community continues to try and devise a better solution than the X brace (more on that in a future newsletter), I'd wager most of us will continue to employ it. It's a decent method to reinforce the soundboard, particularly in front of the bridge, to resist the rotational force in play once the strings are up to pitch.

It's a simple cross lap joint, but care must be taken that the joint is neither too tight nor too loose. I tend to use an off cut of one of the braces to check the fit as I work on it.

Starting with careful marking out, followed by a fine toothed Japanese saw and cleaned up to finish with chisels.

If all goes well, the joined X brace conforms to the angles dictated by the soundhole patch. It is then glued in abutting these surfaces. Before carving the braces, I'll glue another little patch over the top of the joint to "tie" the open part of the X together and restore it's stiffness.

Once the soundboard and back are thicknessed it's time to add some structural integrity to the whole assembly. The traditional choice is lightweight and stiff alpine spruce. The bracing on the soundboard helps distribute the forces in action from the strings. They also give the luthier a chance to fiddle and experiment with heights, patterns, stiffness and belief systems.

For me, It's a magical melding of engineering and alchemy. I have the greatest respect for both pathways and enjoy intuitively tap tuning just as much as frequency analysis and don't see them as entirely different or mutually exclusive.

Emphasis, traditionally has been put on the soundboard bracing, but just as everything else with the guitar, every detail is important if marginal gains are to be achieved.

The bracing process also allows for some cool photos of tiny planes and the ubiquitous "go-bar deck" - an ingenious and ancient (Chinese?) clamping mechanism using bent strips of wood.

Once ready, the soundboard and back are glued to the rib assembly and the box is officially closed. Halfway.

Once the box is closed, attention turns to the beautification process. Binding isn't strictly necessary, plenty of successful guitars are made without it, but it does give the luthier an opportunity elevate the overall aesthetic, or ruin it. As with most builds lately I've erred on the side of "keep it simple" with this one and am matching the soundhole binding and purfling scheme, Wenge with 0.6mm natural maple and black dyed maple accents.

Here you can see the rabbet/rebate cut along the perimeter of the guitar's top and back surfaces.

The binding must be pre-bent on the bending iron in order to be glued up under little to no stress.

There's lots of tricky details to manage and "glue fear" to overcome. For many the anxiety of getting a piece clamped up before the glue sets can cause shakes, sweats and accidents.

Once glued, the binding must be planed, scraped and sanded flush. A long dusty process.

With the body bound attention turns to the neck. Here, again, I've used reclaimed mahogany. This stuff is like gold to me strong, stable and extremely well seasoned.

This neck is a laminate of 3 pieces thanks to the grain orientation of the material available to me. I decided to put in a thin black veneer between the pieces for neat definition.

The neck mortises and tenons are then routed. I use a fully bolt on/bolt off method which I thought I had devised entirely under my own steam, but later realised that I must have seen it somewhere (probably in the Gore/Gilet book) and copied it verbatim. In any case, it's a popular method employed by lots of makers now, enabling easier adjustment to the neck angle in the future if required.

Once that's all sorted, I then start carving the neck!

Progress appears rapid as I neglected to take photos at crucial stages...

There's a lot of sanding at this stage. The bridge is carved and sanded. The body is final sanded and prepped for finishing. The lacquer is sprayed, sanded, sprayed, sanded and so on until it's buffed and shiny. The neck is sanded and then oiled.

Once I'm happy with all of that I glue the bridge on. I don't always use the vacuum system for this job, but it's nice to have it in the arsenal. Clean up is easy enough after around 7 mins of vacuum with a lightly dampened kitchen towel. I always used titebond for this job, but I aspire to use hot hide glue in the future.

A day or twos rest and it's time for strings. The best bit.

That wraps up the “build thread”, I hope you’ve enjoyed seeing a little of what goes into a Swannell Guitar!